
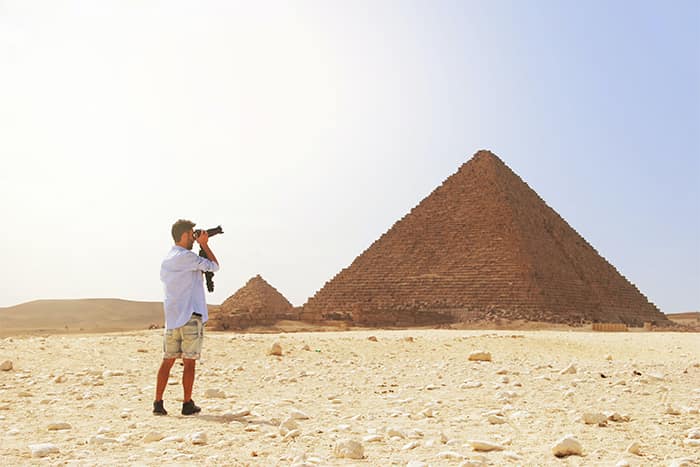
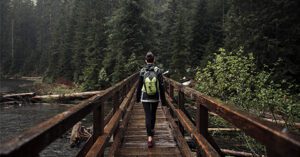
Have you ever seen stunning photos on Instagram or any other social media platform and wondered, “How do they capture such stunning travel moments?” Well, the secret lies in the art of travel photography.
If you are a newbie with a passion for photography but have not yet understood how to make your travel photos attractive, then you are in the right place. In this blog, we will talk about travel photography for beginners step by step. From choosing the right camera to mastering composition and editing techniques, you’ll gain the skills and confidence to capture unforgettable moments during your adventures.
Travel Photography for Beginners in 4 Steps
Step 1: Choosing the Right Camera for Travel Photography
Selecting the perfect camera for your travel adventures is a pivotal step in your journey to capturing memorable moments. The type of camera you choose significantly impacts your photography experience and the quality of your travel photos.
1. What Type of Camera Do You Need for Travel Photography?
- Digital Single-Lens Reflex (DSLR) Cameras: Renowned for their exceptional image quality and manual controls, DSLRs offer versatility and interchangeable lenses. They are ideal for those seeking creative control but can be bulky for travel.
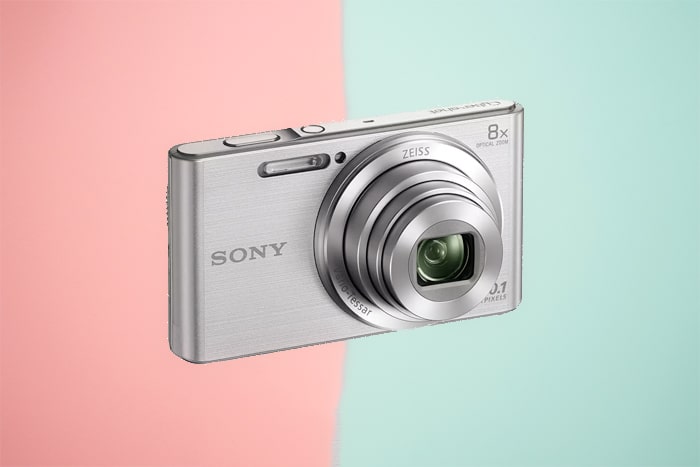
- Mirrorless Cameras: Combining DSLR-like image quality with a compact, lightweight design, mirrorless cameras are increasingly favored for their portability and high-quality images.
- Point-and-Shoot Cameras: These compact, easy-to-use cameras fit comfortably in a pocket or bag, making them perfect for casual travelers. However, they may have limitations in advanced features and image quality.
- Smartphone Cameras: Modern smartphones boast impressive camera capabilities with high-quality lenses, advanced sensors, and sophisticated software. They are convenient and ultra-portable.
2. What Features Are Important in a Travel Camera?
- Image Quality: The camera’s sensor size influences image quality. Larger sensors typically capture more detail and perform better in low light.
- Portability: Evaluate how much weight and bulk you’re willing to carry. Mirrorless cameras and compact point-and-shoots offer a balance between performance and portability.
- Lens Compatibility: For cameras with interchangeable lenses, research available lenses and their suitability for your photography interests.
- Battery Life: Ensure your camera can handle a full day of shooting. Carrying spare batteries for longer journeys is advisable.
- Weather Resistance: If you plan to shoot in various conditions, consider weather-sealed cameras that protect against dust and moisture.
- Video Capabilities: Check the camera’s video recording features if you have an interest in videography, including resolution and frame rate options.
3. What Are Some Budget-Friendly Travel Cameras?
- Sony Alpha a6000: Praised for its compact size, exceptional image quality, and affordability, the a6000 is a favored mirrorless camera among travel photographers.
- Canon EOS M50: This mirrorless camera offers 4K video recording and a versatile touch-screen interface at an accessible price.
- Nikon Coolpix A900: A compact point-and-shoot with a high-resolution zoom lens, suitable for various shooting situations without the bulk of interchangeable lenses.
- Google Pixel or Apple iPhone: Modern smartphones like the Google Pixel and iPhone boast impressive camera capabilities with advanced software features, making them budget-friendly options for casual travel photographers.
4. Smartphone Photography for Travel
- Portability: Smartphones are incredibly lightweight and portable, always ready for quick shots on the go.
- Ease of Use: With user-friendly interfaces, smartphone cameras are accessible to photographers of all levels.
- Quality: High-end smartphones offer impressive camera capabilities with multiple lenses, advanced sensors, and image-processing software for stunning photos.
- Versatility: Smartphones offer various shooting modes and editing options, expanding your creative possibilities.
- Connectivity: Instantly share your travel photos with friends and family through social media or cloud storage for real-time engagement.
- Accessories: Smartphone photography accessories, such as clip-on lenses and gimbals, can enhance your smartphone photography further.
- Travel Apps: Utilize travel-related apps on your smartphone for weather updates, navigation, and location scouting to complement your photography.
Step 2: Learn the Basics of Photography
Once you’ve chosen your camera, the next step in your journey to becoming a skilled travel photographer is to master the fundamentals of photography. These fundamentals will form the foundation of your photography skills and empower you to create stunning travel photos.
1. Understanding the Three Main Camera Settings: Aperture, Shutter Speed, and ISO
- Aperture: Aperture refers to the size of the lens opening, which controls the amount of light that enters the camera. It is measured in f-stops, such as f/2.8 or f/11. A lower f-number (e.g., f/2.8) results in a wider aperture, allowing more light in and creating a shallow depth of field with a blurred background. A higher f-number (e.g., f/11) results in a narrower aperture, reducing the amount of light and increasing the depth of field, keeping more of the scene in focus.
- Shutter Speed: Shutter speed determines how long the camera’s sensor is exposed to light. It is measured in seconds or fractions of a second (e.g., 1/1000s or 1s). A fast shutter speed (e.g., 1/1000s) freezes fast-moving subjects and reduces motion blur. A slow shutter speed (e.g., 1s) allows for creative effects like long exposure photography, capturing motion trails, and emphasizing movement.
- ISO: ISO measures the sensitivity of the camera’s sensor to light. Lower ISO values (e.g., ISO 100) are suitable for well-lit conditions and provide crisp, noise-free images. Higher ISO values (e.g., ISO 1600 or higher) are used in low-light situations but may introduce noise (grain) into photos. To get the proper exposure, ISO, aperture, and shutter speed must all be balanced.
- Exposure Compensation: Adjust exposure compensation to fine-tune your exposure. Increase it (+1 or more) for brighter photos or decrease it (-1 or less) for darker, moodier shots. This setting helps you achieve the desired level of brightness and contrast.
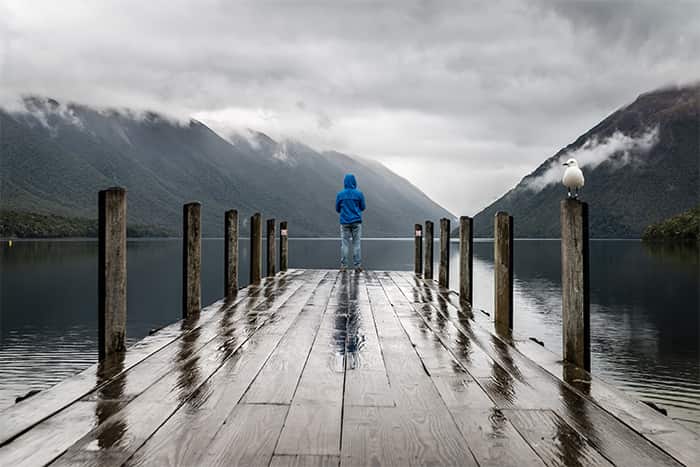
2. Using Composition to Create Great Photos
Composition is the art of arranging elements within your frame to create visually appealing and impactful photographs. It’s a fundamental skill that every photographer should master:
- Rule of Thirds: Divide your frame into a grid of nine equal parts by overlaying two horizontal and two vertical lines. Positioning key elements along these lines or at their intersections often creates a more balanced and visually pleasing composition.
- Leading Lines: Incorporate lines within your frame, such as roads, rivers, or fences, that guide the viewer’s eye toward the main subject or point of interest.
- Framing: Use natural elements like archways, doorways, or branches to frame your subject. This draws attention to the subject and adds depth to the photo.
- Foreground and Background: Consider both the foreground and background when composing your shots. Elements in the foreground can provide depth, while the background should complement the subject without distractions.
- Symmetry and Patterns: Look for symmetry or repetitive patterns in your surroundings. These elements can create striking and aesthetically pleasing compositions.
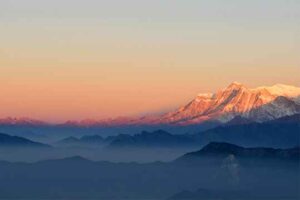
3. Using Light to Your Advantage
Light is the essence of photography. Learning to work with different lighting conditions is essential for creating captivating travel photos:
- Golden Hour: The hour after sunrise and before sunset, known as the golden hour, provides soft, warm, and diffused light that enhances the beauty of landscapes and portraits. Utilize this time for stunning outdoor shots.
- Harsh Light: In midday when the sun is high, light can be harsh, casting strong shadows. Use this to your advantage by creating dramatic compositions or seeking shade for more even lighting.
- Overcast Days: Cloudy or overcast days provide soft, diffused light that minimizes harsh shadows. This type of lighting is ideal for capturing details and colors in subjects like flowers or architecture.
- Backlighting: Use backlighting to your advantage by shooting toward a direct light source. This technique can create silhouettes or add a beautiful glow to your subjects.
- Indoor and Low-Light Photography: In indoor or low-light settings, consider using a tripod to stabilize your camera, using a wider aperture (lower f-number), and increasing the ISO to capture sufficient light without introducing excessive noise.
- Night Photography: Explore the possibilities of night photography by capturing cityscapes, starry skies, or unique lighting conditions. Use a tripod and long exposures for best results.
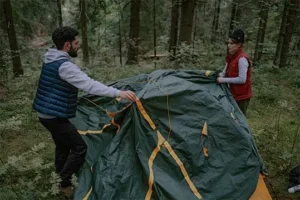
Step 3: Plan Your Shots
Planning your shots is a critical step in travel photography that can significantly enhance the quality of your photos and the overall storytelling aspect of your journey. Here’s how to go about it:
1. What Kind of Photos Do You Want to Take?
- Define Your Photography Style: Consider the type of travel photos you want to capture. Are you drawn to landscapes, street photography, portraits, or a combination of these styles? Knowing your style will help you focus on specific subjects and techniques during your trip.
- Create a Shot List: Before you leave for your destination, create a shot list of the types of photos you want to take. This could include iconic landmarks, local cuisine, cultural experiences, or even personal moments. Having a shot list ensures that you don’t miss capturing important aspects of your journey.
- Tell a Story: Think about the story you want your photos to tell. What emotions or messages do you want to convey through your photography? Consider how each photo contributes to the narrative of your trip.
2. What Are the Best Locations to Shoot?
- Research Your Destination: Before your trip, research your destination thoroughly. Identify the must-visit locations and hidden gems that align with your photography style and shot list. Use travel guides, blogs, and social media to discover photography-worthy spots.
- Local Insights: Reach out to locals or connect with fellow photographers who have explored the area. They can provide valuable insights into off-the-beaten-path locations and the best times to visit popular spots.
- Scout Locations: Upon arrival, scout the locations you plan to photograph. Pay attention to the angle of the sun, potential foreground and background elements, and any unique features that can enhance your shots.
3. What Time of Day Is Best to Shoot?
- Golden Hour: As mentioned earlier, the golden hour, which occurs shortly after sunrise and before sunset, offers the most favorable lighting conditions. During this time, the soft, warm light enhances colors and adds a magical quality to your photos. Plan to shoot your most important shots during these hours.
- Blue Hour: The blue hour occurs just before sunrise and after sunset. The sky takes on a deep blue hue, and city lights or artificial lighting can create a captivating contrast. It’s an excellent time for urban photography and cityscapes.
- Midday Challenges: Midday light can be harsh and cast strong shadows. If you must shoot during this time, look for opportunities to use shadows creatively or find shaded areas to avoid overexposed photos.
- Night Photography: Nighttime can offer unique photographic opportunities. Capture cityscapes with the city’s lights aglow, experiment with long exposure photography for star trails or light painting, and explore the beauty of low-light environments.
- Adapt to the Weather: Be flexible and adaptable with your shooting schedule. Sometimes, unexpected weather conditions can create stunning and moody shots. Rain, fog, or stormy skies can add drama to your images.
Step 4: Edit Your Photos
Editing your photos is a crucial step in the journey of travel photography. It allows you to enhance the quality of your images, correct imperfections, and add your personal touch to each shot.

1. What Are Some Basic Photo Editing Techniques?
- Cropping: Begin by cropping your image to improve composition or eliminate distracting elements. Cropping can help you focus on the main subject and create a more balanced composition.
- Exposure Adjustment: Use exposure adjustments to fine-tune the brightness and contrast of your photos. Adjust highlights to recover overexposed areas and shadows to reveal hidden details in dark regions.
- White Balance: Correct white balance to ensure accurate color representation. Adjust the temperature to make your photos warmer (more yellow) or cooler (more blue) to match the lighting conditions.
- Contrast and Saturation: Enhance the contrast to make your images pop and add depth. Adjust the saturation to make colors more vibrant or desaturate for a muted, subtle look.
- Sharpening: Apply sharpening to improve the clarity and detail in your images. Be cautious not to over-sharpen, as it can introduce noise and artifacts.
- Noise Reduction: Reduce noise in low-light or high-ISO photos to achieve smoother and cleaner images. Adjust noise reduction settings to maintain sharpness while minimizing noise.
- Color Correction: Fine-tune individual color channels (e.g., red, green, blue) to achieve the desired color balance. Correct color casts caused by different lighting conditions.
- Lens Correction: Correct lens distortions, such as barrel distortion or chromatic aberration, that may affect the quality of your images.
- Spot Removal: Use spot removal tools to eliminate unwanted objects, dust spots, or blemishes from your photos.
2. How to Use Editing Software to Improve Your Photos
- Choose Editing Software: Select a photo editing software that suits your needs and skill level. Popular options include Adobe Lightroom, Adobe Photoshop, Capture One, and various free mobile apps like Snapseed or VSCO.
- Import Your Photos: Import your photos into the editing software’s library or workspace. Organize them into folders or albums for efficient editing.
- Apply Global Adjustments: Start by making global adjustments that affect the entire image. These adjustments include exposure, white balance, contrast, and saturation. Use sliders or adjustment panels to make these changes.
- Local Adjustments: Use tools like brushes or masks to apply adjustments to specific areas of your photo. This allows you to selectively enhance or correct parts of the image without affecting the entire picture.
- Presets and Filters: Experiment with presets or filters provided by the software or create your own to achieve specific looks or styles for your photos.
- Non-Destructive Editing: Most modern editing software allows for non-destructive editing, meaning your original photo remains unchanged. You can always revert to the original if needed.
- Save or Export: After editing, save your work or export the final image in the desired format (e.g., JPEG, TIFF, or PNG). Be mindful of resolution and file size settings, especially if you plan to share or print your photos.
- Version Control: Consider creating different versions of your edited photos to compare and decide which one best suits your vision.
- Practice and Experiment: Editing is an art in itself, and practice is key to improving your skills. Experiment with different techniques and styles to develop your editing style.
Remember that the goal of editing is to enhance your photos while maintaining their authenticity. Overediting can lead to unrealistic or unnatural results. Strive for a balance that brings out the best in your images while preserving the essence of the scenes you captured during your travels.
Tips for improving your travel photography skills
- Practice regularly. The more you shoot, the better you will become at capturing great photos.
- Experiment with different techniques. Don’t be afraid to try new things and see what works best for you.
- Pay attention to light and composition. These are two of the most important factors in photography.
- Edit your photos carefully. This can help you to improve the overall quality of your images.
Resources for learning more about travel photography
- Books: There are many great books available on travel photography. Some popular titles include:
- “Travel Photography: Mastering the Art of Seeing” by Michael Freeman
- “The Travel Photographer’s Handbook” by Lonely Planet
- “Travel Photography: A Guide to Taking Great Pictures” by National Geographic
- Websites: There are also many websites dedicated to travel photography. Some popular sites include:
- Online courses: There are also many online courses available on travel photography. On YouTube, you can learn photography from experts I know some of the best travel photographers.
- Mitchell Kanashkevich
- Justin Mott
- Peter McKinnon
- Chris Burkard
- Lizzie Peirce
- Andrew Lanxon
- Nigel Danson
Capture the world’s beauty through your lens, and share your remarkable travel stories with us. Comment below and inspire others to embark on their photographic journeys. Don’t forget to share this guide with fellow travel enthusiasts.
Related Post: How to become a travel influencer in 2023
